Have you ever wondered why, looking at those clothes and garments in the department stores, they do not have any bulk in them, while your sewing project has?
Is there anything you are not doing correctly or something you might have missed?
Pressing the fabric is as important as sewing itself. That spells the difference between those with the competitive, professional look and those with the pedestrian ones; you must pay attention to pressing.
Pressing sewing, how do you do it? You are pressing the fabric as you make stitches, but how do you do it correctly?
And why does pressing in sewing ultimately matter?
Why Do Pressing?
Pressing is what gives your sewing project a polished look.
Even if you have the best sewing skills and machine to do the activity, your finished project may have bulks and look crumpled if you do not do pressing.
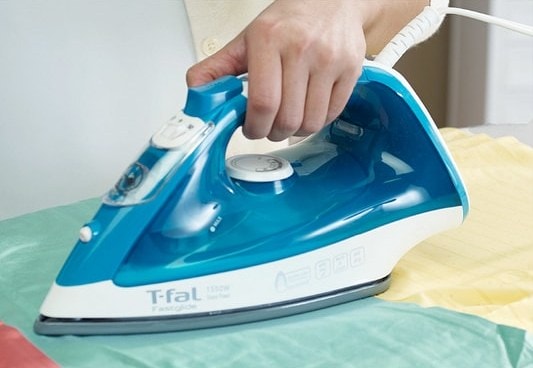
Pressing is therefore essential, but you do not just press; you do it the right way, but before we discuss some pressing tips, you must know the difference between pressing and ironing.
Pressing And Ironing
Ironing is when you iron clothes, or to be precise when you move the iron to the fabric in a north-south, back-and-forth motion.
Pressing, on the other hand, is when you press the iron onto the fabric. You press the material using an iron, then lift the iron, then press some parts of the fabric again.
Whereas you move back and forth in ironing, you lift the iron when you press. There is a difference in movement, for there is a significant difference in purpose and function.
When you iron your clothes, what you are straightening is a finished product. You can deal with bulks and crumples by forcing them onto the edges of the clothes, making them straight and polished.
But when you are sewing, you are still dealing with an ongoing sewing project, and thus not yet finished.
If you move the iron back and forth, you might distort the fabric, which is why you have crumples or bulks in the clothes; there is a distortion in the garment.
To avoid that, you do the pressing; put the iron on top of a specific area of the fabric, lift it, move to another part of the fabric, and press it again. The result is a very polished look for the material.
Distortion in the fabric is possible because if you move the iron back and forth to the unsewn cloth, the grain of the fabric may be stretched, and it can have an impact when you sew it on the other fabric or if you do the quilting.
Pressing allows you to avoid it; you press it and remove the wrinkles, the fabric laying flat without the threat of distortion once you have sewn it with other fabrics.
Read More: Secrets For having Perfect Stitches
The Pressing Tools
- An iron, preferably a steam iron.
- An ironing board
- A pressing cloth
- A point presser/Clapper
- Water
- Spray bottle
- Pressing Ham
- Sleeve board
- Wool pressing mat
Essential Tips For Pressing
Here are the things you need to remember as you do pressing:
Test the Heat First
Burning the fabric is a real possibility, whether ironing or pressing, and it always happens. To avoid this, you must test the heat and ensure the right heat level for your fabric.
Have a piece of unused fabric, then press the iron on it. There are levels of heat indicated on the iron, but you must ensure everything by having the feel on the fabric itself.
If it is not warm enough, try to increase it in increments. Ensure you start on low heat, then slowly increase the heat level until you find the right one.
A Press Fabric is a Must
A pressing cloth is a piece of fabric that protects the sewn fabric from being scorched or melted. You will need this more if you deal with a delicate fabric or those very thin, lightweight materials.
A press cloth is available in most sewing shops, but there are household items that could be a perfect substitute. Among these is some cotton fabric like muslin, a plain woven cotton canvas, especially for delicate fabrics, or silk organza.
Silk organza is ideal because it is transparent; you can see your fabric as you press the iron. It is very smooth and has a high heat tolerance, making it ideal for pressing.
Press with Care
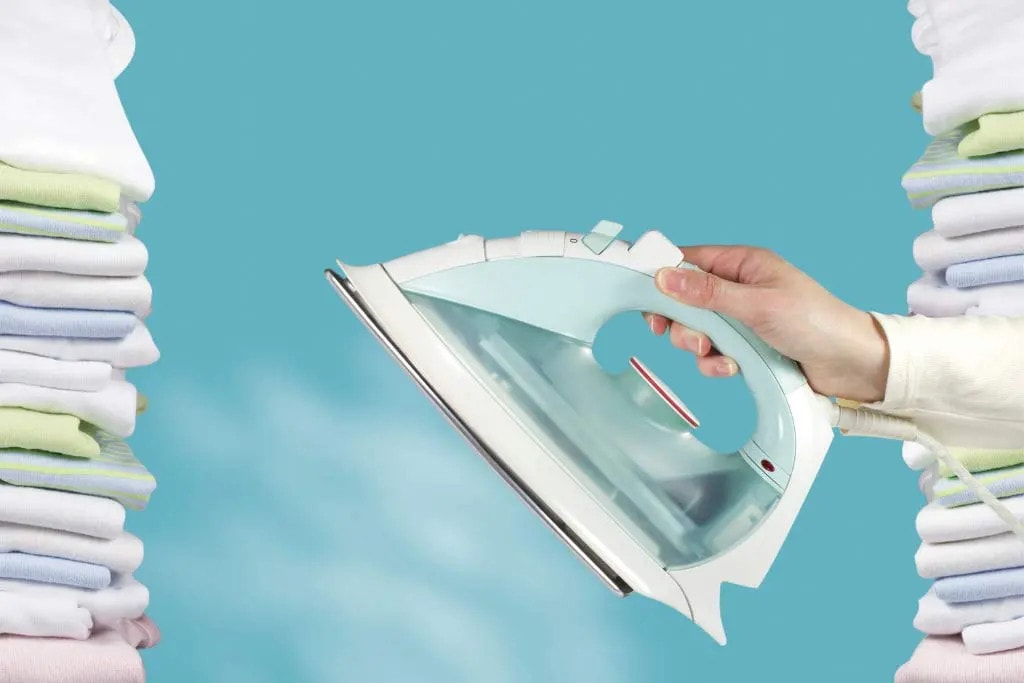
Always be careful when you are doing the pressing, and be gentle as much as possible. Even when pressing, distortions can occur in the fabric, mainly if you apply too much pressure in pressing.
We call it pressing, but most of the time, you only use the iron and its weight to do the pressing; in short, you need not press at all.
“Pressing Sewing”
You need to press before and after you sew a part of the fabric, and this is to ensure that the fabric part is polished, especially if you are going to attach it to the next piece of the cloth or fabric.
Here is where the great possibility of wrinkles and bulks occurs. When you fail to press flat the fabric which is to be attached, distortions and crumpling usually happen.
“Pressing sewing,” therefore, is necessary to prevent this.
Use the Available Pressing Tool
A pressing ham, a point presser, and a sleeve board are there because you will need them.
They are the essential tools for pressing when the usual method of putting the flat iron on the fabric would not suffice.
A point presser and clapper belong to the same object: The clapper, the bottom part, is for pressing on a thick, heavy fabric like denim, leather, or the like.
The point presser, the upper part, is usually for pressing on collars and the like.
A sleeve board deals with narrow areas in a garment or fabric, such as sleeves and the like, and is used when you need to do pressing on those parts. This one looks like a small iron board too.
A pressing ham is for dealing with some curves in the fabric, for it could be tricky dealing with those parts.
It has two sides: a wool side and a cotton side; the former is for pressing on fabrics needing low temp, and the cotton side is for pressing materials requiring high temperature.
It will be best to use the tools available for pressing because you have to ensure a polished material on your finished sewing product, and all the tools mentioned ensure that.
Other Essential Tips For Pressing
Dampen the Garment Before You Press
You do this even when you iron your clothes, and the main reason is that it gives the material a more reliable, polished crease when you dampen it before you press on it.
It would be best also to use a spray bottle to soak your material, for it ensures better water sprinkle spread on the fabric.
Never Press on Pins
The heads of pins are made of plastic, and they can quickly melt when subjected to heat or high temperature. Ensure you never put the iron on those pins as you do the pressing.
Match the Tools with the Need
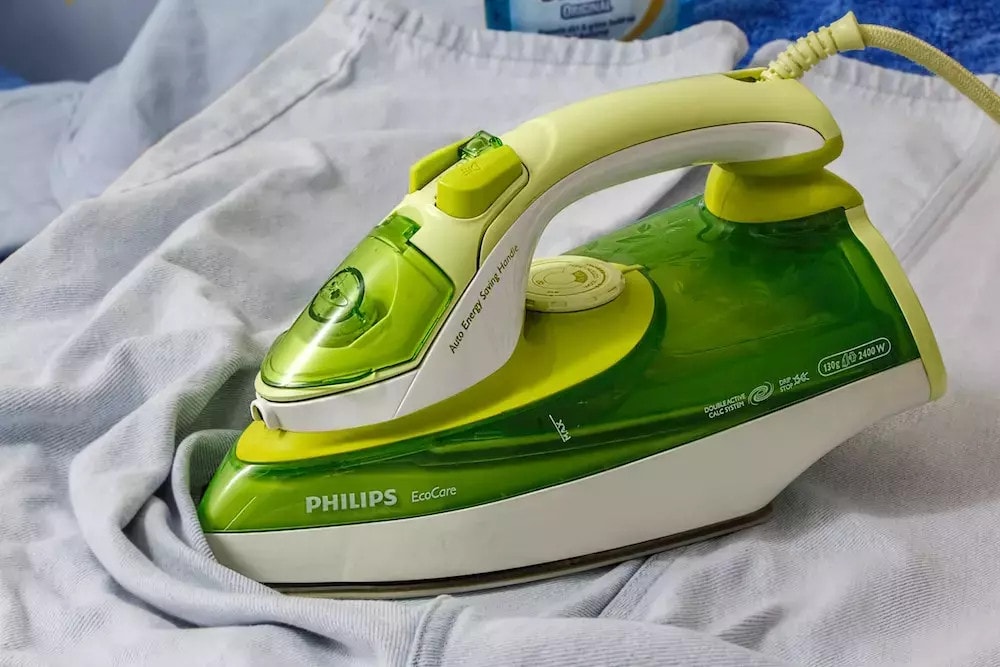
The point presser is for collars and the like, a sleeve board is for sleeves, and a clapper is for thick fabrics.
Each tool has a purpose specific to pressing, so you better be sure that you are using the right tools required in pressing.
Mix Tap Water with Distilled Water for Sprinkling
Tap water is filled with minerals, and some of the minerals might stain the material. You do not want a lovely dress ruined after sewn them just because of lime in the sprinkled water you use.
Use distilled water, or mix the tap water with a distilled one to dilute lime concentrations in the water. That will ensure that a minute sprinkle will never ruin the lovely dress you have skillfully woven.
Final Thoughts
Pressing is as vital as any other activity related to sewing. It is the one that will give your sewing project that polished, professional look, the one that makes a sewing project different from ordinary ones.
In itself, pressing sewing activity is not a complicated process. But it would be best to be mindful of some things to ensure you do it properly; following our essential tips will not hurt.

